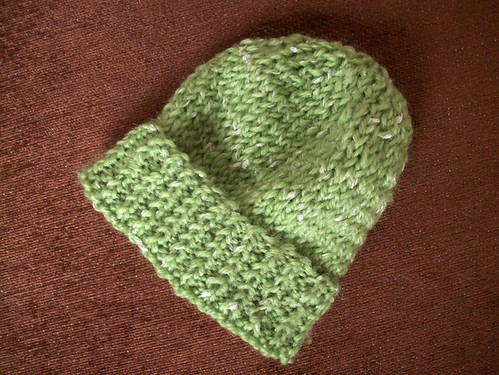
Remember the Knit & Help post back in September? I finally finished my hat, and as I did so, I found some useful tips to share with fellow newbies to pattern-knitting.
No fear, though, because the world wide web of information provides everything I could look for. Armed with the knit kit, book Knitting with Balls, Ravelry, Expert Village, and a few other sites, I was able to successfully complete my first using-a-pattern knitting project.
If you'd like to knit a hat for a baby you know, or for any other pattern that uses purl, ribbing, and/or stockinette stitch, here's what you need.
Step 1: The pattern - Find patterns at Ravelry.com, by searching online, or in great knitting books like these which I recommend. Also see these great patterns by fellow bloggers. (They're not all hats).
Step 2: Cast on - I learned this from a book, too, but really like this Expert Village video which uses the same method I do.
Step 3: Knitting - The Knit Kit explains and illustrates this very well. I knit Continental, which I learned from a DK Craft book (no longer in print). Knitting with Balls explains the technique for Continental and English knitting.
Step 4: Purling - I learned to purl from this Expert Village video. I find it a difficult stitch to learn from illustrations, though they are included in Knitting with Balls for both Continental and English knitting.
Step 5: Ribbing - Ribbing was explained, but not illustrated, in the Knit Kit, and I was confused as to whether or not I needed to alternate which rows began with knit and which rows began with purl (answer: no; for an even number of stitches, beginning every row with knit, following the K1, P1 pattern, results in ribbing). See this video.
Step 6: Stockinette Stitch - Same as ribbing (explained/not illustrated in Knit Kit) but much easier to understand, I recommend this short description or this video if you need some help.
Step 7: Binding Off - This is the last step, well illustrated in both the Knit Kit and my favorite knitting book, Knitting with Balls (yes, it's for guys, but the knitting principles are the same). Also see this helpful video.
Step 8: Weaving in the Ends/Sewing the Seam - The clearest explanation I've read for weaving in the ends is in Knitting with Balls. Try also this article. As for sewing the seam (as in the Knit Kit pattern), I just kind of went for it and hoped for the best, but probably should have tried the instructions in this video.
Step 9: Give it away! - I was glad to learn that Save the Children collected so many hats, but disappointed that I finished mine too late. Please comment to let me know if you hear of any other organizations accepting hats! It's a teensy size, for preemie babies, but it is mighty cute!
Don't forget to comment to enter January's giveaway: Layla Legs!
Subscribe to:
Post Comments (Atom)